Direct answer
Choose the mounting position first. Use a rigid steel tape, measure width in three places and height in three places, record every size as width × height, check depth and obstructions, and never make your own manufacturing deductions unless the supplier specifically requests them.
Key takeaways
- Measure every opening separately, even when windows look identical.
- Inside mounts require width, height and usable recess depth.
- Outside mounts require the exact finished coverage and mounting point.
- Send all figures and photographs to the manufacturer before production.
Tools and preparation
Use a rigid steel measuring tape rather than a cloth tape. Keep a pencil, phone note or worksheet nearby and use one unit throughout the job. Millimetres are convenient for custom blinds because they reduce rounding.
Label every opening clearly—for example, “Living room left window” or “Balcony panel 2”—and record each size as width × height. Take photographs of the full opening, corners, handles, grills, tiles and proposed fixing surface.
Choose inside mount or outside mount first
Inside mount
The blind sits within the window recess. It gives a clean built-in appearance but needs sufficient unobstructed depth for the brackets, headrail or roller tube.
Outside mount
The blind covers the opening and is fixed to the wall, trim or ceiling. It is useful for shallow recesses, uneven openings, stronger light control and windows where handles or grills obstruct an inside mount.
Check opening direction, handles, locks, curtain rods, cabinets, AC pipes, grills and electrical points before choosing. The most attractive mounting position is not useful when the blind cannot operate freely.
How to measure an inside-mount blind
- Measure the inside width at the top.
- Measure the inside width at the middle.
- Measure the inside width at the bottom.
- Measure height at the left, centre and right.
- Measure usable recess depth from the front edge to the nearest obstruction.
- Record projecting handles, locks, grills and tiles.
The narrowest width is important because the blind cannot pass through a tighter part of the recess. Height treatment varies by product, so send all three height readings as well. The manufacturer should apply the product-specific production allowance.
How to measure an outside-mount blind
- Mark the exact position where the top brackets or headrail will sit.
- Measure the complete finished width you want the blind to cover.
- Include any desired overlap beyond the glass or recess.
- Measure the finished drop from the mounting line to the bottom point.
- Confirm solid fixing support at each bracket position.
- Check clearance around handles, hinges, curtain rods and doors.
Overlap can reduce side light and improve privacy, but no single overlap works for every blind. The correct amount depends on the product, wall space and desired appearance.
Balconies, doors and wide openings
Balconies
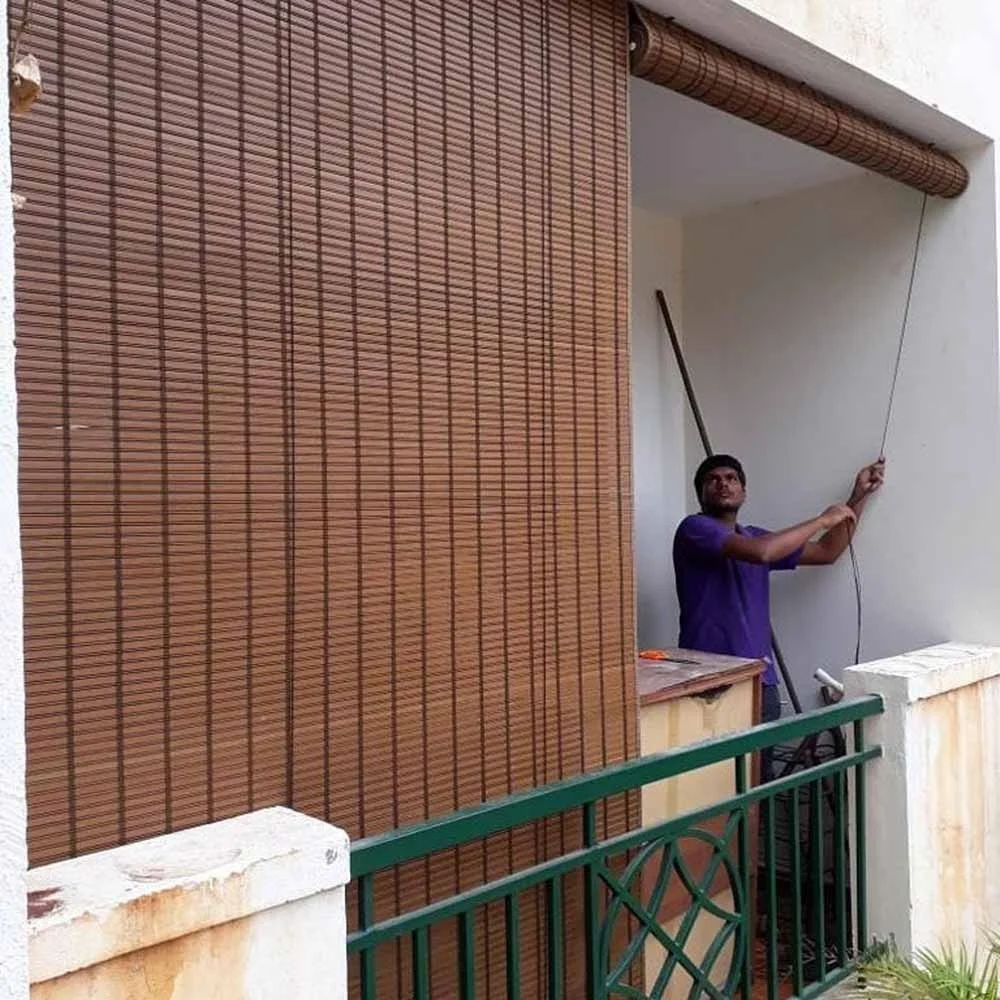
Measure the full opening and each usable bay between columns. Mark door access and grills. A wide bamboo or outdoor blind often works better as balanced panels instead of one heavy piece.
Doors
Check door swing, handle projection and floor clearance. The blind must not obstruct regular access.
Bay and corner windows
Record the angle and where neighbouring headrails will meet. Product depth determines whether two blinds collide in the corner.
Tiled or metal surfaces
Photograph the mounting area. Measurement alone does not reveal whether special drill bits, rivets or anchors may be required.
Costly measuring mistakes to avoid
- Using a soft or damaged measuring tape.
- Measuring width and height only once.
- Switching the width × height order between windows.
- Rounding every figure to the nearest centimetre.
- Ignoring recess depth or projecting handles.
- Making an unrequested deduction.
- Ordering before deciding the mounting position.
| Opening | Top width | Middle width | Bottom width | Left height | Centre height | Right height | Depth and notes |
|---|---|---|---|---|---|---|---|
| Living room | ___ mm | ___ mm | ___ mm | ___ mm | ___ mm | ___ mm | Handle / grill / mount |
| Opening 2 | ___ mm | ___ mm | ___ mm | ___ mm | ___ mm | ___ mm | ________ |
For expensive custom products, unusual frames or wide balconies, a professional final measurement is a sensible safeguard. The Chick Blinds can review photographs and arrange measurement support in its service areas.
How measurements are converted into a finished blind
The number written on your tape is not always the final manufactured width. Different products need different allowances for brackets, end caps, fabric width, headrails and operating clearance. On a roller blind, the total bracket-to-bracket width is usually wider than the visible fabric. On a vertical blind, the track and louvre overlap determine coverage. On a bamboo chick blind, side binding, pulley placement and panel weight influence the practical finished size.
This is why a customer should provide the actual opening measurements and clearly state the intended mounting position. The maker can then apply the correct production allowance. When a customer deducts clearance and the manufacturer deducts again, the finished blind can become unnecessarily narrow.
For outside mounts, provide the exact coverage you want rather than only the glass size. Mark the top fixing line and the desired bottom point. A photo with arrows is often more useful than an unexplained pair of numbers.
Special measurement notes for common blind types
| Blind type | Extra measurement to confirm |
|---|---|
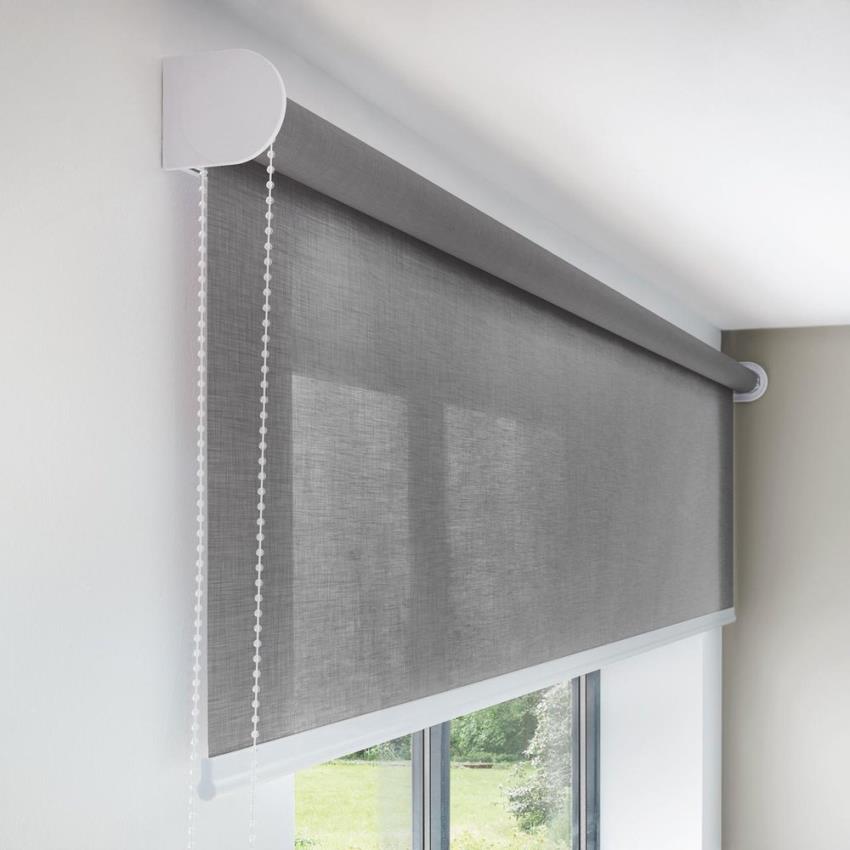
| Roller blind | Total system width versus fabric width, control side and tube clearance. |
| Roman blind | Stack depth above the opening, lining, fold clearance and handle projection. |
| Vertical blind | Track position, floor clearance, louvre stack side and door access. |
| Zebra blind | Cassette depth, side gaps and full overlap of solid bands. |
| Bamboo chick blind | Panel divisions, pulley position, bottom clearance and outdoor exposure. |
| PVC outdoor blind | Wind path, support points, drainage and clearance from grills or doors. |
Bay windows and corner windows require more than individual widths. The depth of each headrail determines whether neighbouring blinds collide at the corner. Photograph the angle and measure from a consistent reference point.
Final verification before placing the order
Read every measurement back in the same order in which it will appear on the quotation. Use a room label and an opening number. A useful line is: “Bedroom left window, outside mount, finished width 1450 mm × finished drop 1600 mm, control on right.” This is much safer than sending “145 × 160” without a unit or mounting instruction.
- Confirm width × height and the unit.
- Confirm inside or outside mount.
- Confirm the top fixing surface.
- Confirm control side and opening direction.
- Confirm whether dimensions are opening sizes or finished blind sizes.
- Attach photographs of handles, grills, tiles and corners.
- Ask the supplier to repeat the final production sizes.
For expensive custom blinds, wide balconies or irregular openings, professional final measurement is a sensible safeguard. The Chick Blinds can review initial photographs and arrange measurement support across listed Delhi NCR service areas.
Frequently asked questions
Should I measure blinds in centimetres or millimetres?
Either unit works when used consistently, but millimetres help reduce rounding for made-to-measure products. State the unit clearly.
Do I deduct anything for an inside-mount blind?
Do not deduct anything unless the manufacturer specifically requests it. The supplier normally applies the allowance required by the product.
Which width is used for an inside mount?
Measure the top, middle and bottom. The narrowest width is important, but send all measurements so the supplier can assess the opening correctly.
Can photographs replace final measurements?
No. Photographs reveal obstructions and surfaces, but they do not replace accurate width, height, depth and mounting-position measurements.